Archives For my shop

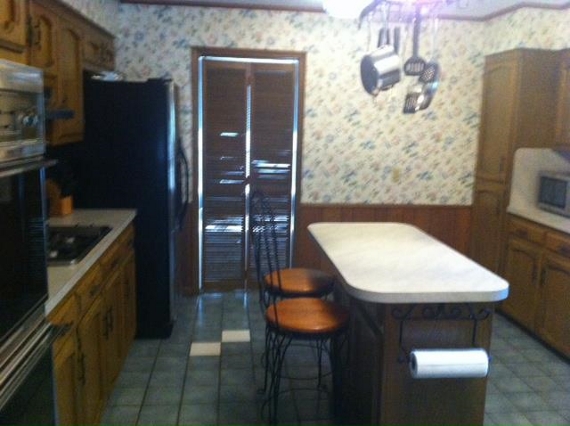
Remember when my friend Christa sent me a picture of her blue-tiled kitchen?

911925_10151551426486506_245980055_n (570x426)

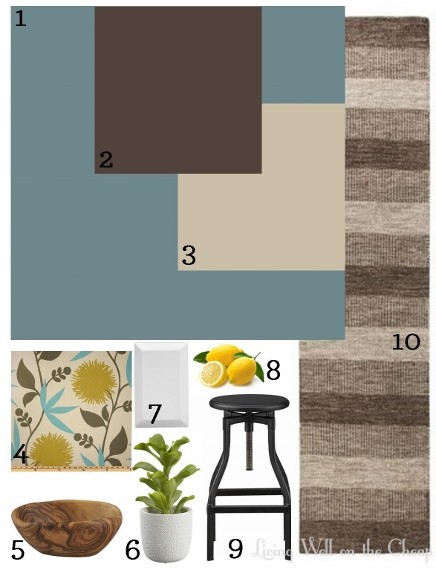
And I created a plan for bringing it into this century without expensive tile work or remodeling?

christa kitchen moodboard (436x570)

I really like doing that sort of thing, and I’m thinking of maybe offering it as a service through my etsy shop. But before I dive in to designing for a fee I’d really like to get some more practice in-both to make sure I don’t suck and to see if I enjoy it as much as I think I do. So if you’ve got a space that you’re not quite sure what to do with please send me a picture! Tell me about the limitations you’re working with and I’ll come up with a couple of paint colors, reasonably priced furniture and accessories, and ideas for DIYing and thrifting your way to a room that you love. If you’re interested send me an email at charlotte@livingwellonthecheap.com, or just click the contact link near the top of my blog.

Thanks for reading, y’all, and I hope you had a fabulous weekend. We stayed pretty close to home, but Nick did go to both of the LSU baseball games and is still beside himself with excitement that they’ll be heading to the College World Series in Omaha this year. It’s kind of a big deal, apparently, so Geaux Tigers!

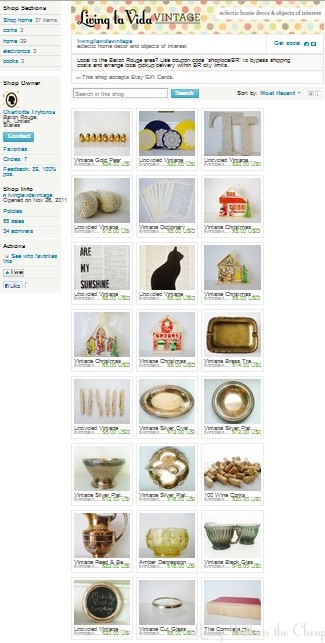
I cannot believe it’s been a whole year since I opened Living La Vida Vintage! Last Thanksgiving I remember being so unsure of whether my stuff would sell, whether I’d be able to keep up with fulfilling orders (especially since I’d just found out I was pregnant!), and whether the stress of the whole thing would send me into a nutella-guzzling frenzy. I seriously just giggled looking back at my first two posts about it-you can check them out here and here. All that worry was for nothing! I set up shop last year on the Monday after Thanksgiving with a grand total of 12 items. This year I made it my goal to have everything ready by the big T-day itself and as of this writing I have thirty-seven listings, including a couple of things handmade by yours truly! I’m branching out, haha.

Nothing is more than twenty-five dollars and everything is something I would put in my own home. I couldn’t be prouder of the little business I’ve built. Y’all have been so supportive of me over this last year (as have my friends and family), and I want to do something special to thank you. I wish I could reach out and give each and every one of you a big smooch. But since I can’t, I’m offering a special coupon code for folks who read my blog or are friends with me on facebook. Just enter the code HEYDONTIKNOWYOU at checkout for 15% off. You can’t combine it with other coupon codes (that’s etsy’s rule, not mine), so if you’re local to the Baton Rouge area and would like to arrange pickup or delivery within BR city limits let me know and I’ll refund your shipping costs (or convo me in advance and I’ll just make the listing have free shipping for ya).

I plan to keep adding more items throughout the holiday season, so if you don’t see anything that strikes your fancy today be sure to check back periodically. The discount for blog readers runs through the end of time. Thank y’all so much for all of your words of encouragement (and purchases!) over this last year. I really don’t think I would be nearly as successful without y’all. =)

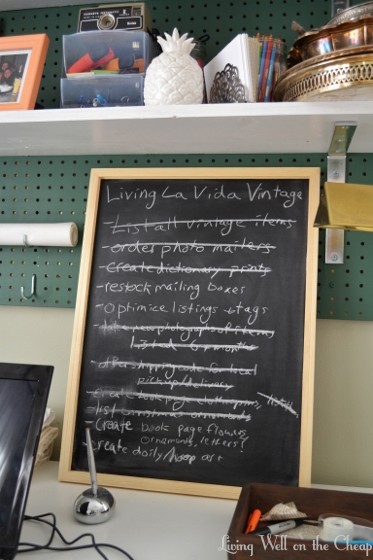
I was gonna make one myself, but then I found exactly what I was looking for on sale at Hobby Lobby (30% off of $7.99).

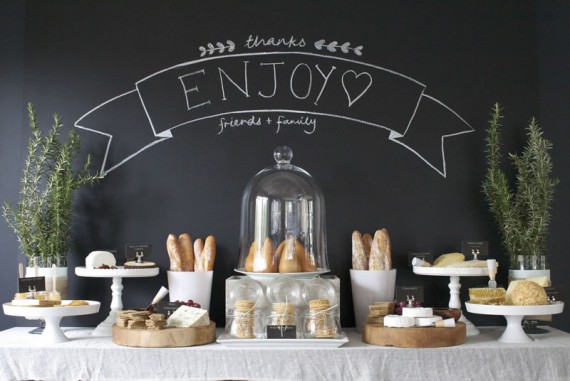
I’ve been working hard to get my etsy shop ready for the holiday shopping season, and was growing tired of all the things I wanted to get done scribbled on scraps of paper scattered around my desk. Then when I saw this image on Pinterest I was inspired to make a chalkboard backdrop for photographing some of my listing items…

All the Frills

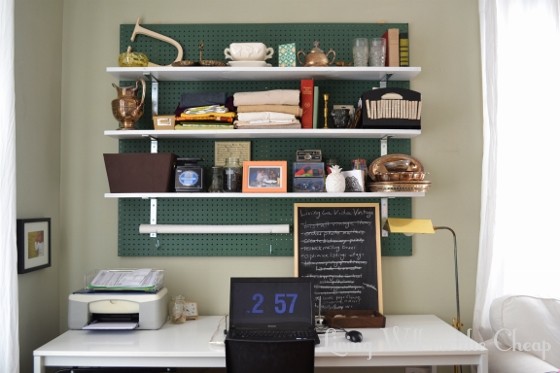
And bam, I got the idea to make a chalkboard that could double as a photo backdrop and to-do list.

I was at Hobby Lobby to pick up a piece of foam core to paint with chalkboard paint, but when I saw one with the perfect dimensions just sitting there waiting for me I decided to give myself a break and not DIY something for the first time in a while. I actually love the unfinished frame. The only downside is that I guess I have to erase it every time I want to use it for photos, but I’m still kind of unsure about venturing away from my standard white background anyway.

I’m so proud of how much I’ve done to get my shop ready! I usually have a big backlog of items to be listed, but everything on my shelves at this very moment is actually up for sale. I even bought supplies yesterday to craft a few more upcycled creations (including doily hoops-I’m going to try affixing it with fusible interfacing). My goal was to have it all done by Thanksgiving and so far things are looking pretty good! If you want to see all the cool new stuff I’ve got you can check it out here. I hope you all have a fabulous weekend!

Friends and family have often suggested to me that I sell some of my craft projects on Etsy, but my response was always that I take too many shortcuts and am too sloppy in my work to feel good about selling anything handmade by yours truly. But after making (and selling) my chalkboard silver trays, I started to think that maybe it would be fun to come up with some very simple crafts using vintage stuff. Projects so simple that even I couldn’t mess them up. It’s probably not a smart business decision to publish a step-by-step tutorial on how to make something that I plan to sell in my shop, but I think these are just so adorable that I had to share.

decorate with book pages

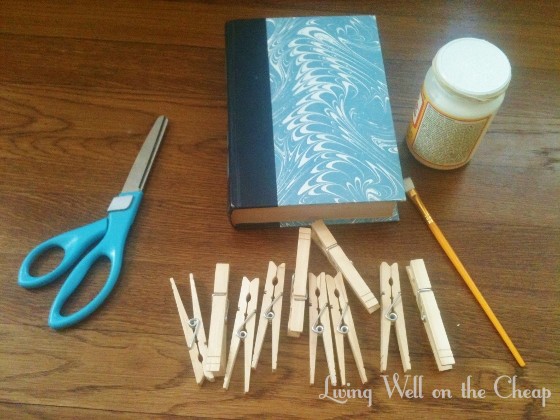
Perhaps you’ve noticed by now how much I love to decorate with book pages, and clothespins are quickly moving up on the list of things I find charming, so this simple craft project using wooden clothespins and book pages is right up my alley. I started with a 1989 Reader’s Digest Condensed Book. I understand that some of you hardcore bibliophiles out there may be offended by my apparent mistreatment of a book, but keep in mind that it was 50 cents at an estate sale and likely headed for a landfill. The cover isn’t especially beautiful to me so I figure I might as well make something pretty out of the pages. I also gathered a pencil, small paint brush, mod podge, and some clothespins (duh).
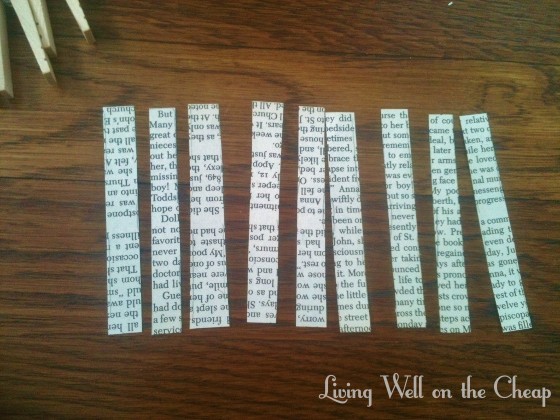
First step: carefully cut or tear a page from the book and trace the outline of a clothespin lightly onto it. I didn’t want any blank space on my clothespins so I started inside the margin. Then I just moved my clothespin over and traced it again right next to the first one, repeating across the page.
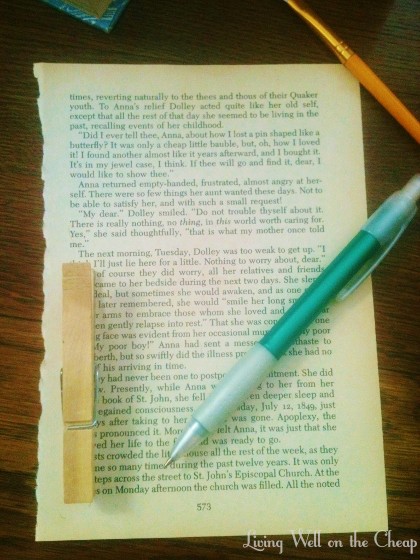
Now cut along the lines you traced to get a bunch of little paper strips. I was able to get nine strips out of one page. If your book is taller you may be able to get two rows of paper strips, but mine was too short.
Next, I painted a thin layer of mod podge onto the front of the clothespin, laid a paper strip down, then painted more mod podge on top. I figured out I got the best seal by smoothing it down with my finger.
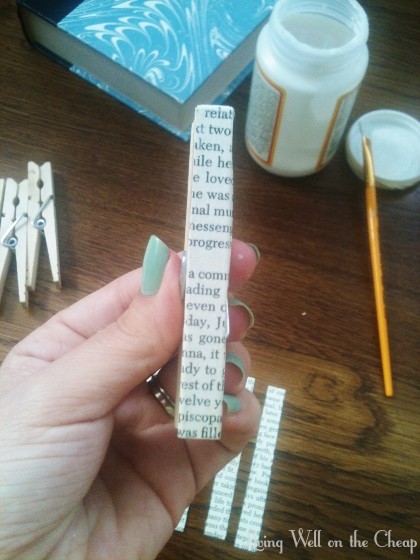
If the paper overlapped the edges I just smoothed it down along the sides. You could also trim with a sharp knife or maybe even tiny manicure scissors.
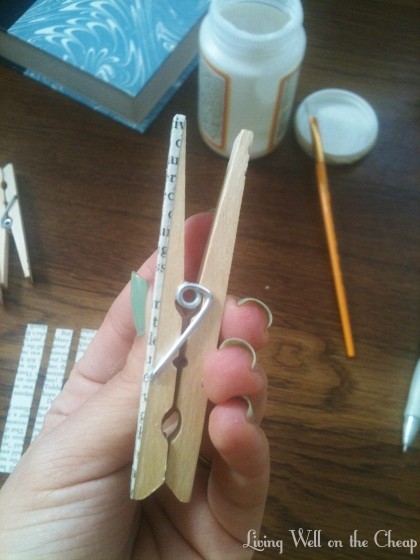
Bam. So easy.
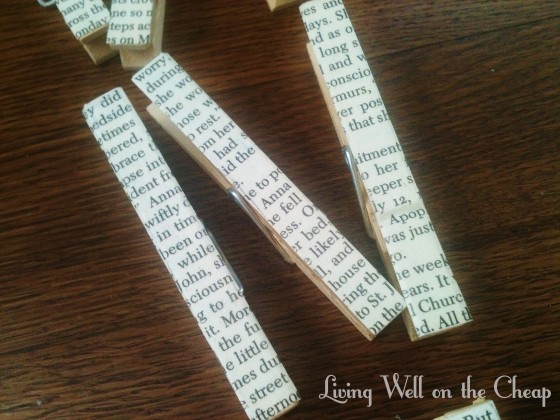
To turn them into magnets, I cut small strips from this roll of magnetic tape I had left over from this project.
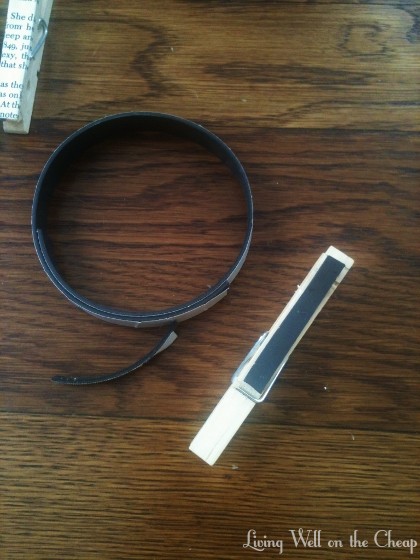
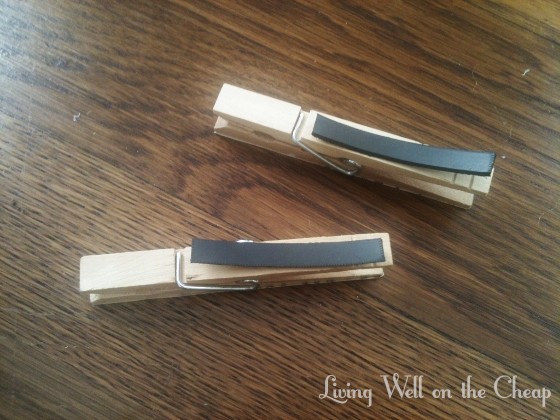
The adhesive wasn’t all that great and they kept rolling up, so I ended up using superglue to get ‘er done.
It would be fun to try to arrange them in order so you could read the paragraph! It’s like a puzzle!
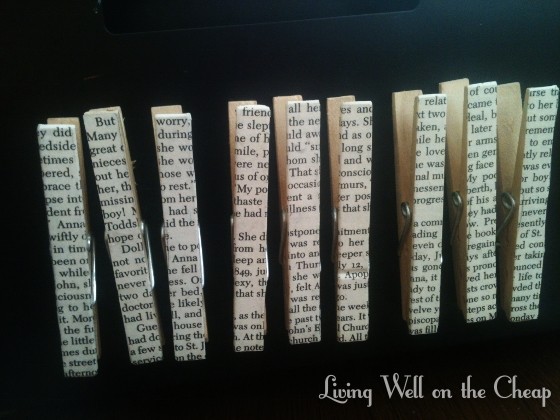
clothespin crafts

How beautiful is that paper card I’ve got clipped to the fridge here? It was actually a thank you note I received recently. I loved the paper so much that I held onto it.

book page crafts

I’ll have a couple sets of these listed for sale in my shop sometime next week. Another bad business move: writing about something on your blog before it’s ready to sell! I’ve got a pretty good reason for waiting that I’m excited to tell you about on Monday. Have a fabulous weekend and stay warm!