
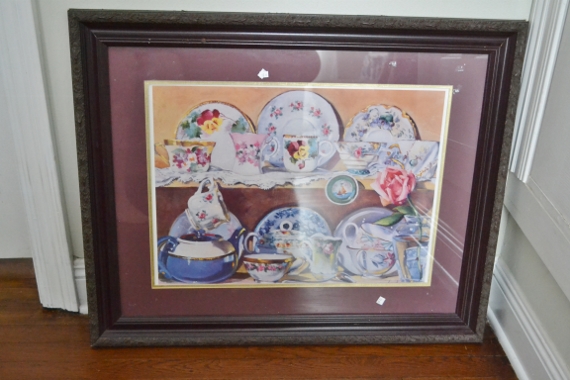
So two things happened recently to inspire this latest project. A) two commenters on this post reminded me that thrift stores are an excellent source for frames, and B) I read this post on another blog about using looking glass spray paint to create an antiqued-looking mirrored surface. The very day that this idea took hold in my heart I ran out to the Goodwill and picked up this beautiful work of art for only $12.99. I’ll admit that the art itself is not exactly my style-the frame is what I was looking for.
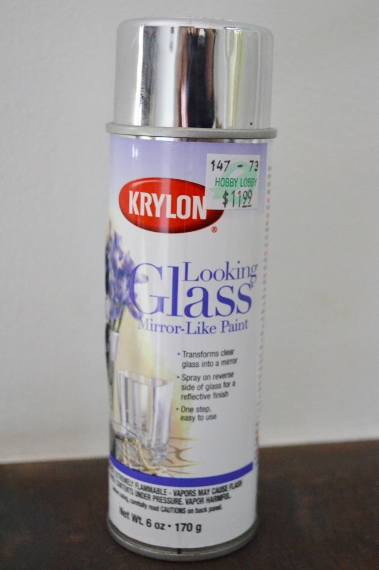
Once I’d purchased my frame, I skipped next door to Hobby Lobby (how lucky am I that they are in the same shopping center?) and picked up a can of looking glass spray paint. It was only $7.19 after using a coupon via HL’s iPhone app.
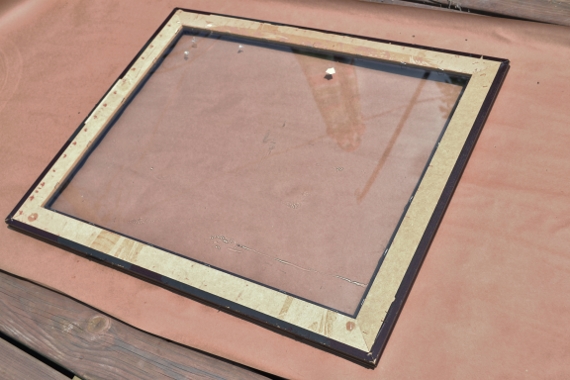
I pulled the backing and print out of the frame and brought it outside to lay face down on some protective paper. I was going to remove the glass from the frame, but I had a hard time getting it out so I decided to just leave it. I was also going to peel the price stickers off the front of the glass but by this point I was already outside and it was hot as balls so I decided to just deal with them later.
Following the instructions I’d read online, I spritzed the back of the glass with a generous mist of a vinegar + water mixture and then sprayed on a coat of the looking glass paint.
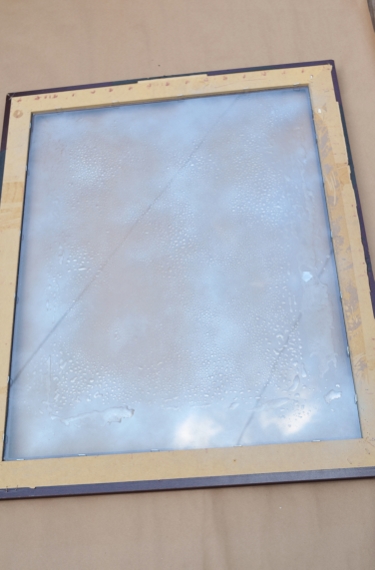
After waiting a few moments for it to dry a bit I wiped with a paper towel, leaving an intentionally spotty and uneven application behind.
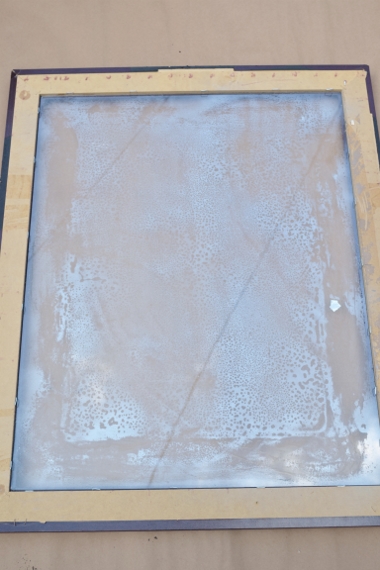
Then I just kept building up in layers-spritz, spray, wait, wipe, repeat.
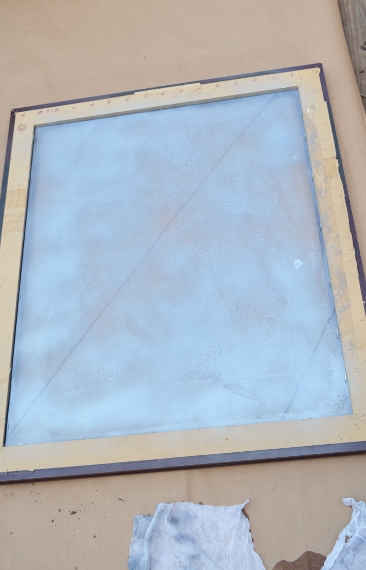
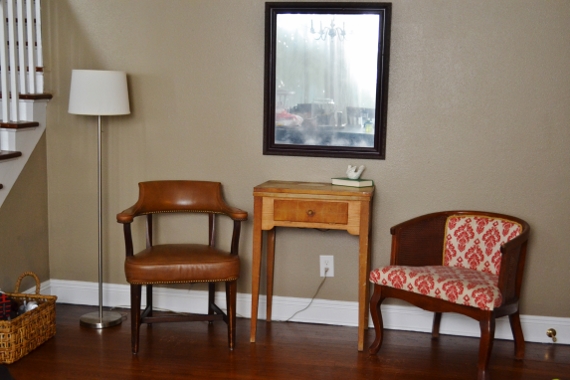
It was taking more coats than I’d anticipated to build up to what I wanted with this technique so I eventually just went for it and skipped the vinegar step so I could get full coverage. I had to go back to Hobby Lobby for another can of spray paint but since it was a different transaction I could use another coupon (total spent on spray paint = $14.38). When the glass was finally no longer see through I replaced the backing and used a heavy-duty picture hanging kit ($4 from Target and came with way more supplies than I needed) to mount it centered above the small sewing table in our dining room. This is one of the darker rooms in our house so the mirror is really nice to bounce some light around, plus I like having a spot to quickly slap on some makeup or check my outfit (if you think it would probably be easier to just step into the bathroom you have never lived with a toddler. Jack is really into toilets lately so bathroom doors stay closed at all times).
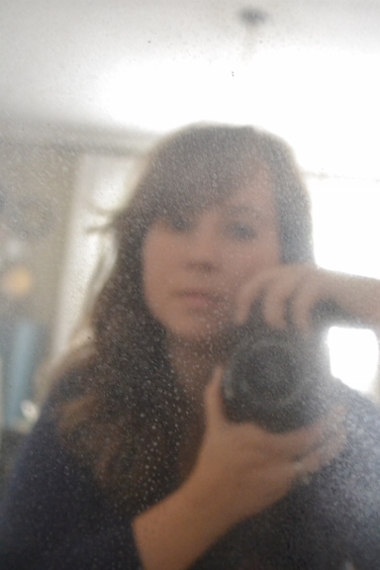
I like how the surface has that hazy, spotty look that you find in really old mirrors and at the same time is still reflective enough to be somewhat useful. That’s exactly what I was going for. Please excuse the shameless selfie. I was having a good hair day.
The wood tone on the frame is actually a thin veneer that’s peeling off in spots so I may strip and paint it down the line, but for now I’m leaving it be. I’m just so stoked that for under $30 and really very little time/effort I could get such a large, cool looking mirror. I feel like it’s the kind of thing that Anthropologie or Pottery Barn or Restoration Hardware would sell for like a million dollars.
Thanks for reading, y’all, and I hope your week is off to a great start! Nick and I are having a date day today-lunch and a movie with no  babies allowed. So luxurious!


I’m not sure how I feel about the antiqued mirror trend. In some ways I like it, but in others it just looks like the mirror is dirty. In any case, I DO like it in this setup, especially to your point about it brightening the space! I just appropriated a large mirror with a gold frame from my parents and am mulling over where to hang it. I wish we had a mantle or something - it would be perfect there!
Thanks! We have a legitimately old mirror in our guest room and every time I clean it I find myself scrubbing and scrubbing before I remember that those hazy streaks aren’t going anywhere, haha.